

 Features
 Pricing
 Partner
 Blog
Blog Support
 More
More Terms of Services
 Privacy Policy
Now that you have your basic email ready. Let’s take a deeper dive into the editor and explore some cool features.
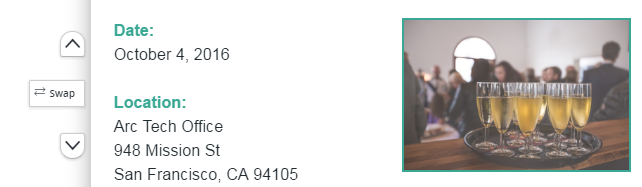
First, let’s take a look at the Swap button. To make customization easier you’ll be able to change content blocks layout with our swap feature. Just click swap and you can swap the image and text.
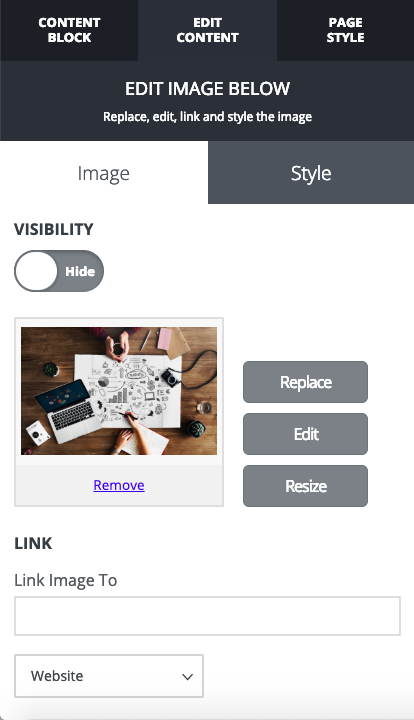
The editor also gives you the ability to add your own pictures to your email, plus edit them! To add your own image to the email:
1. Click the image you would like to change.
2. In the left hand panel select Replace.
3. Select Upload Your Own Image or drag and drop your image on the screen. You'll also be able to add links to your image by pasting the URL into the Link section.
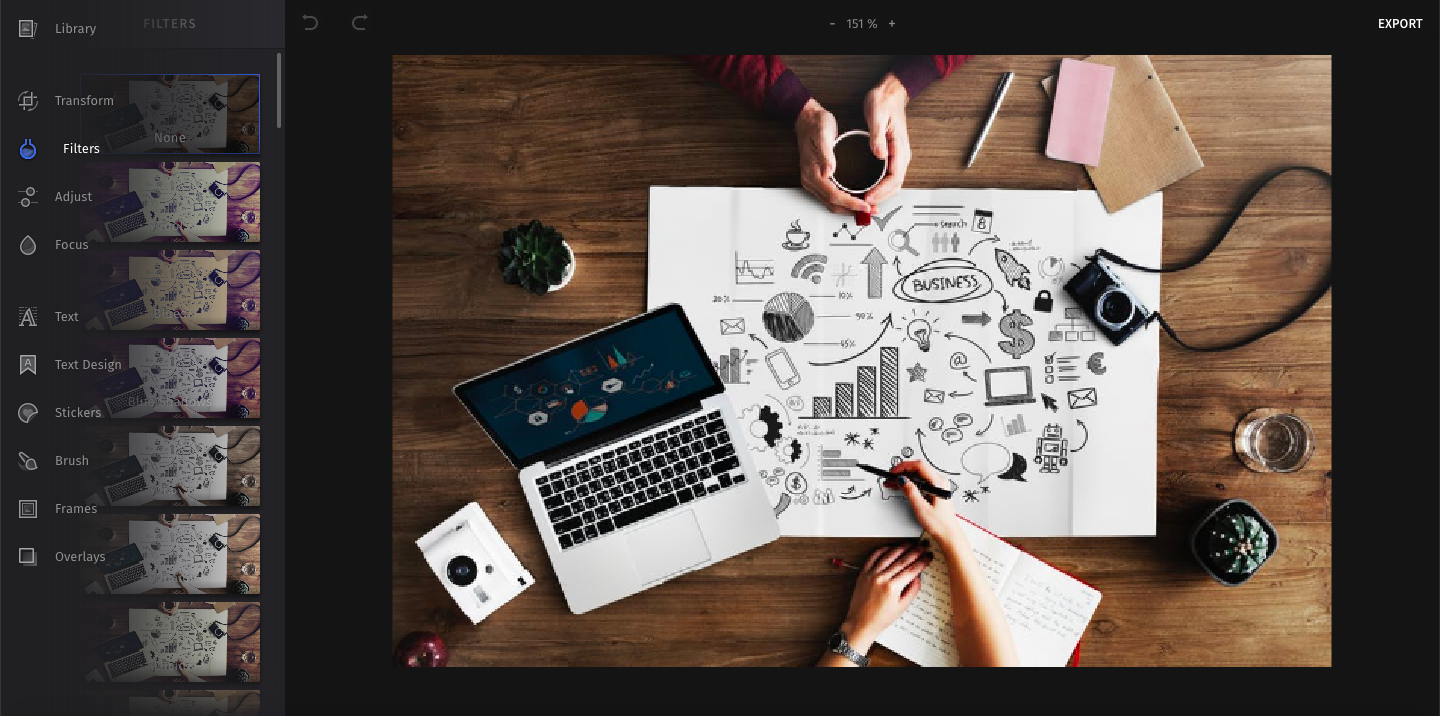
If your image needs some editing, we can help. We’ve made that process easy by giving you the ability to crop, enhance, brighten, focus your photos, and more right inside the editor.
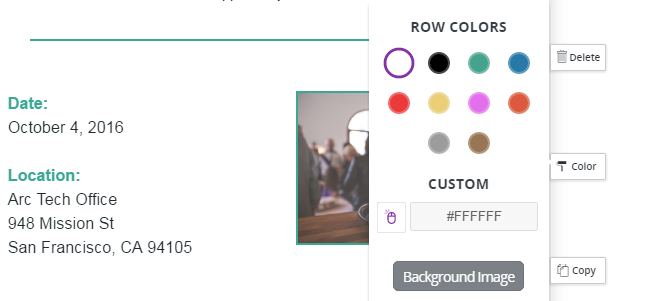
You can also change the row colors by selecting the Color button to the right of the row. Then you can select one from the list or select a custom color using the color picker. If you want the row background to be an image, select Background Image and you'll be prompted to add an image.
You can also change the background of the entire email by going to the Page Style tab and then Background.
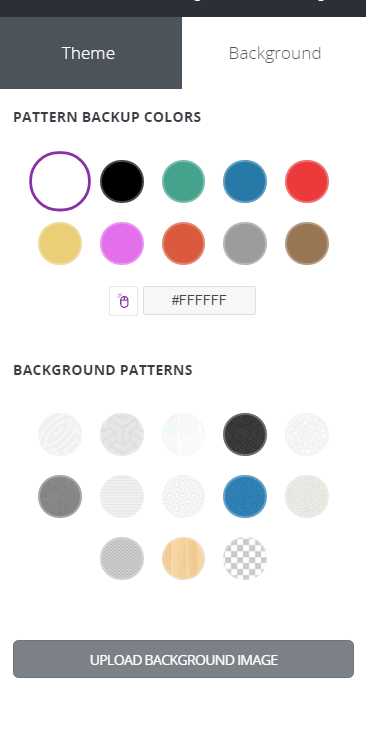
Next let's take a look at the theme of the email which effects things such as the color of the button and button text. If you want to change the theme, go to Page Style and change the primary and secondary colors under Theme. The default colors usually match the template you've chosen, so be careful when changing these features.
Don’t forget that everything saves automatically, but you can always use the undo or redo button in the top panel. You can even select the clock icon to choose a specific task to undo.
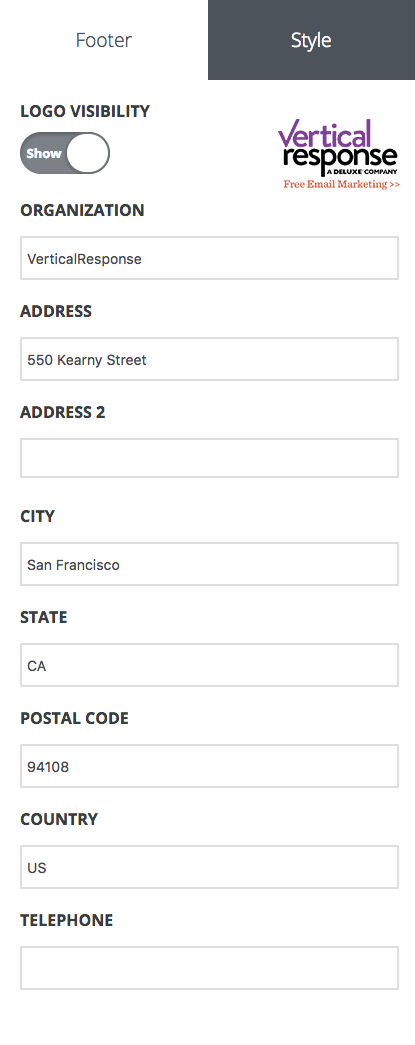
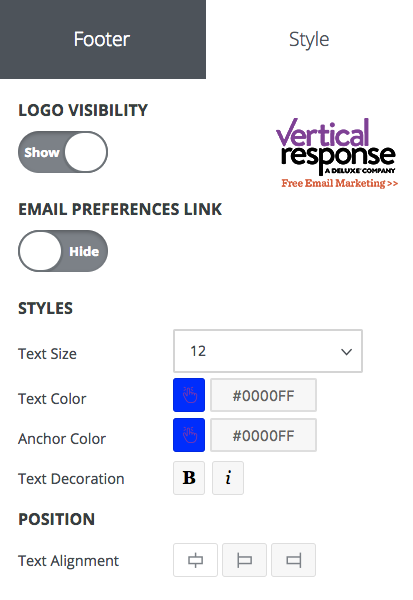
Lastly, you have the ability to edit your footer information. Your footer information usually includes your business name, address and contact information. To edit this information, hover over the footer and select Click to edit. Then on the left hand panel you'll be able to change your business information. If you click on the Style tab, you can also change the color, font size, positioning, and hide/show the email preferences link.
Now that we've explored these additional features, start customizing your email campaign now!
We've also created a video to walk you through using the editor:
Comments
Please sign in to leave a comment.