

 Features
 Pricing
 Partner
 Blog
Blog Support
 More
More Terms of Services
 Privacy Policy
To install the plugin:
- Login to your account
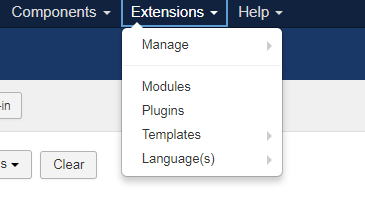
- Select Extensions
- Then Plugins
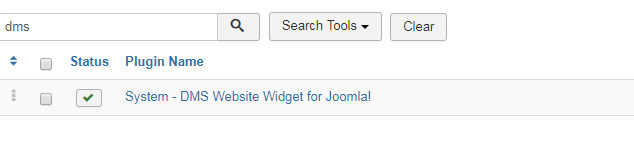
4. Use the search feature by typing in dms

5. Click the DMS plugin
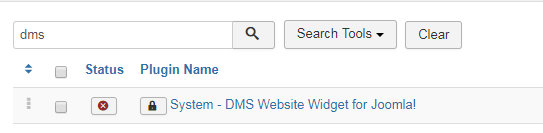
6. Click Enable and press save & close.
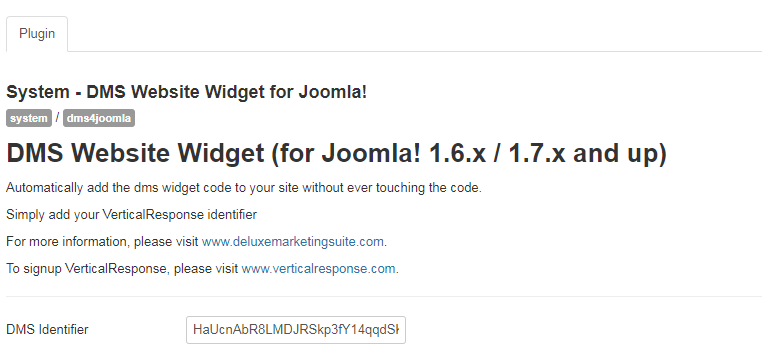
7. From here you will need to copy the DMS identifier and paste it into your store. Next, you will need to get the identifier text to add it to your store. To add the identifier to your store:
8. Click the dms link
9. Go to getverticalresponse.com
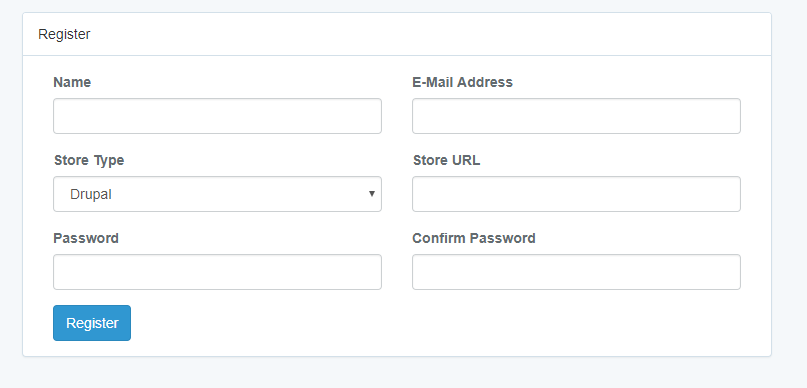
10. Register for an account. Be sure to select Joomla as your store type.
11. Press register once you have filled out all the information.
12. Once logged into the dashboard, you will need to make a connection between your store and Joomla.
13. Go to Settings
14. Then Account Identifier, copy that URL
15. Paste this URL in your Joomla account. Press Save.
Now heading back to the dashboard. You need to make a connection to VerticalResponse, if you have not already don’t this.
- Go to Integrations
- Press Connect Vertical Response
- Enter in your VR details. If you do not have a VR account you must create one.

Once you have connected your VerticalResponse account you can begin to create your form.
- Click Create new form
2. You will now need to create the details of your form.
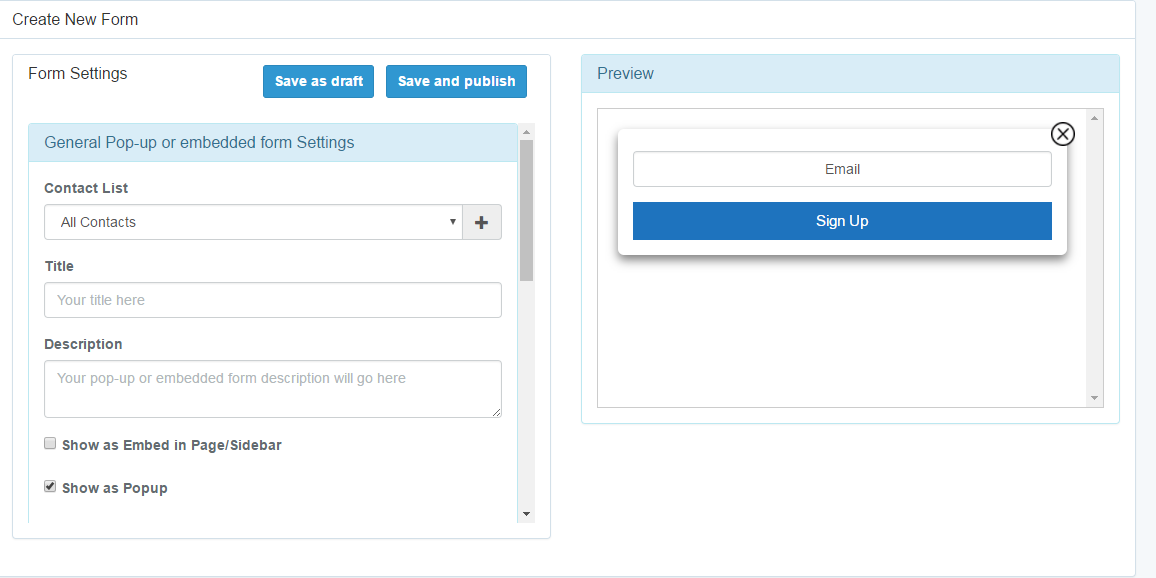
3. Next, choose your contact list. You can choose an existing list from VerticalResponse or you can create a new one. If you create a new list here, it will automatically be created in VerticalResponse. Your lists from VerticalResponse and Joomla will always sync up, so your list in either place is current.
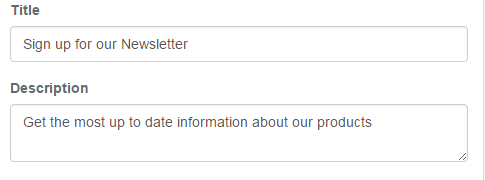
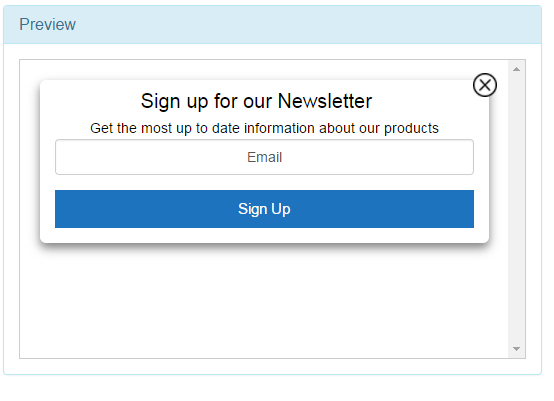
4. Next, choose a title and a description. You can see a live preview of what it will look like.
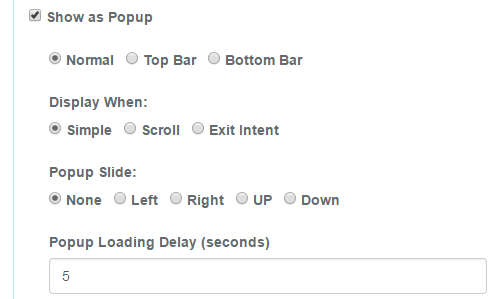
5. Now choose how you would like your form to appear to your customers. Do you want it to pop up in the center of the page, or the top? You will get to decide after how many second you want this form to appear.
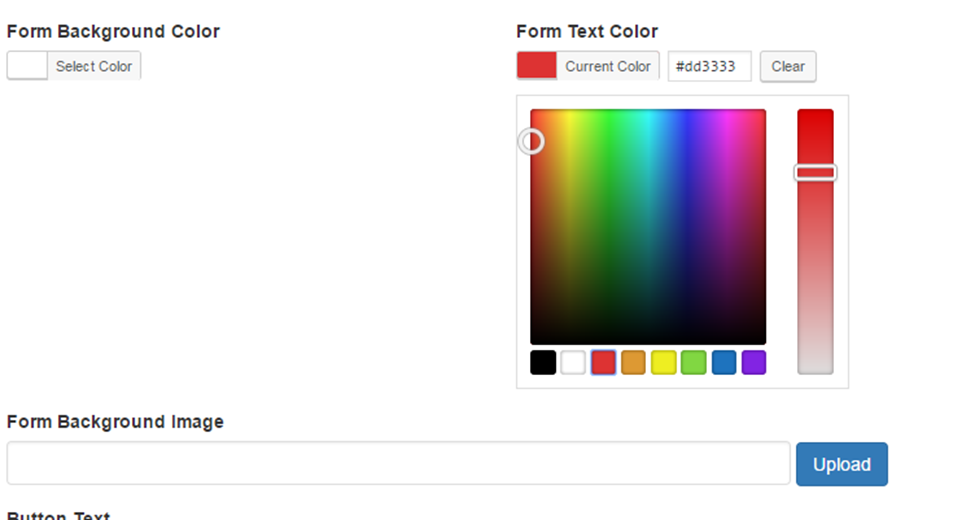
6.You’re also able to customize how the form looks. You can change the button text, background, text color and the shape of the button.
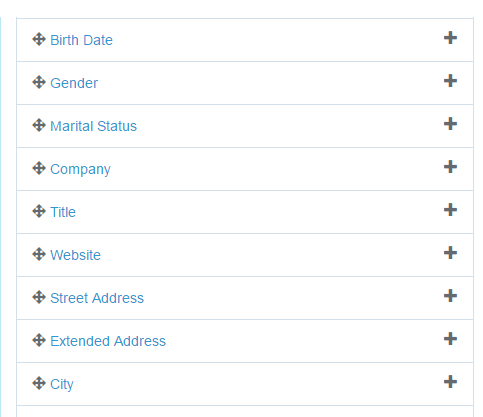
7. Lastly, choose what information you would like to collect. There are many options to include in your form: name, email address, gender, birth date, address and more. Simply click the + sign beside each choice to add it to your form.
8.When you are happy with your form, click Save and publish.
9.After you have published your form, you will be able to see stats by clicking the Forms tab at the top.
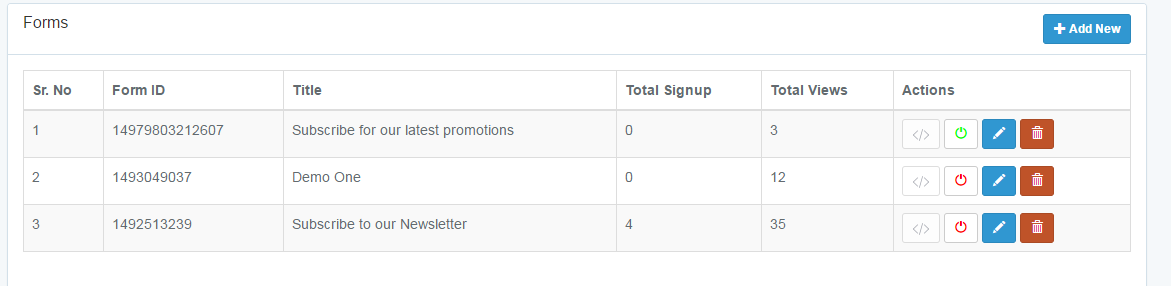
Here you’ll also be able to enable/disable your form, as well as edit or delete it.
Comments
Please sign in to leave a comment.