

 Features
 Pricing
 Partner
 Blog
Blog Support
 More
More Terms of Services
 Privacy Policy
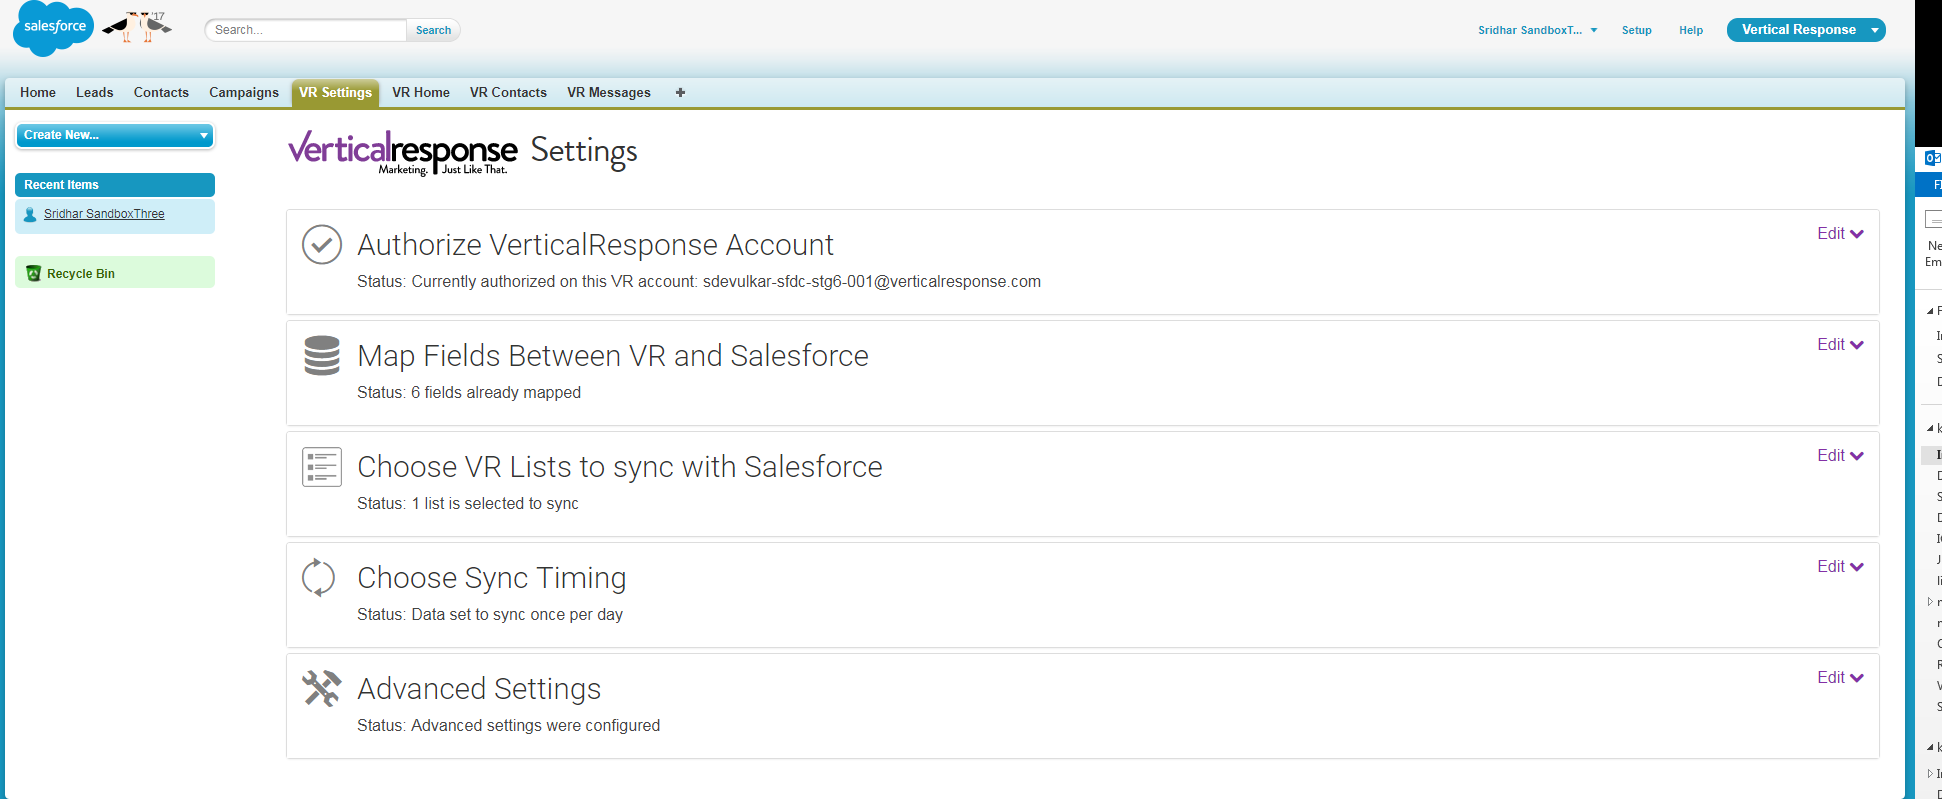
3. Next click VR settings from the tabs and you will be brought to a new dashboard
|
4. First you will have to authorize your VerticalResponse account. If your do no have a VR account set up, so can click Create a new VR account. If you already have an account click I have a VR account.

5. You will be brought to a VR page where you will have to enter your login information
6. Once you have authorized the VR and Salesforce application you can begin to map your fields. This means you will match the fields from Salesforce to VerticalRepsonse. For example you would match first name to first name, email to email etc.
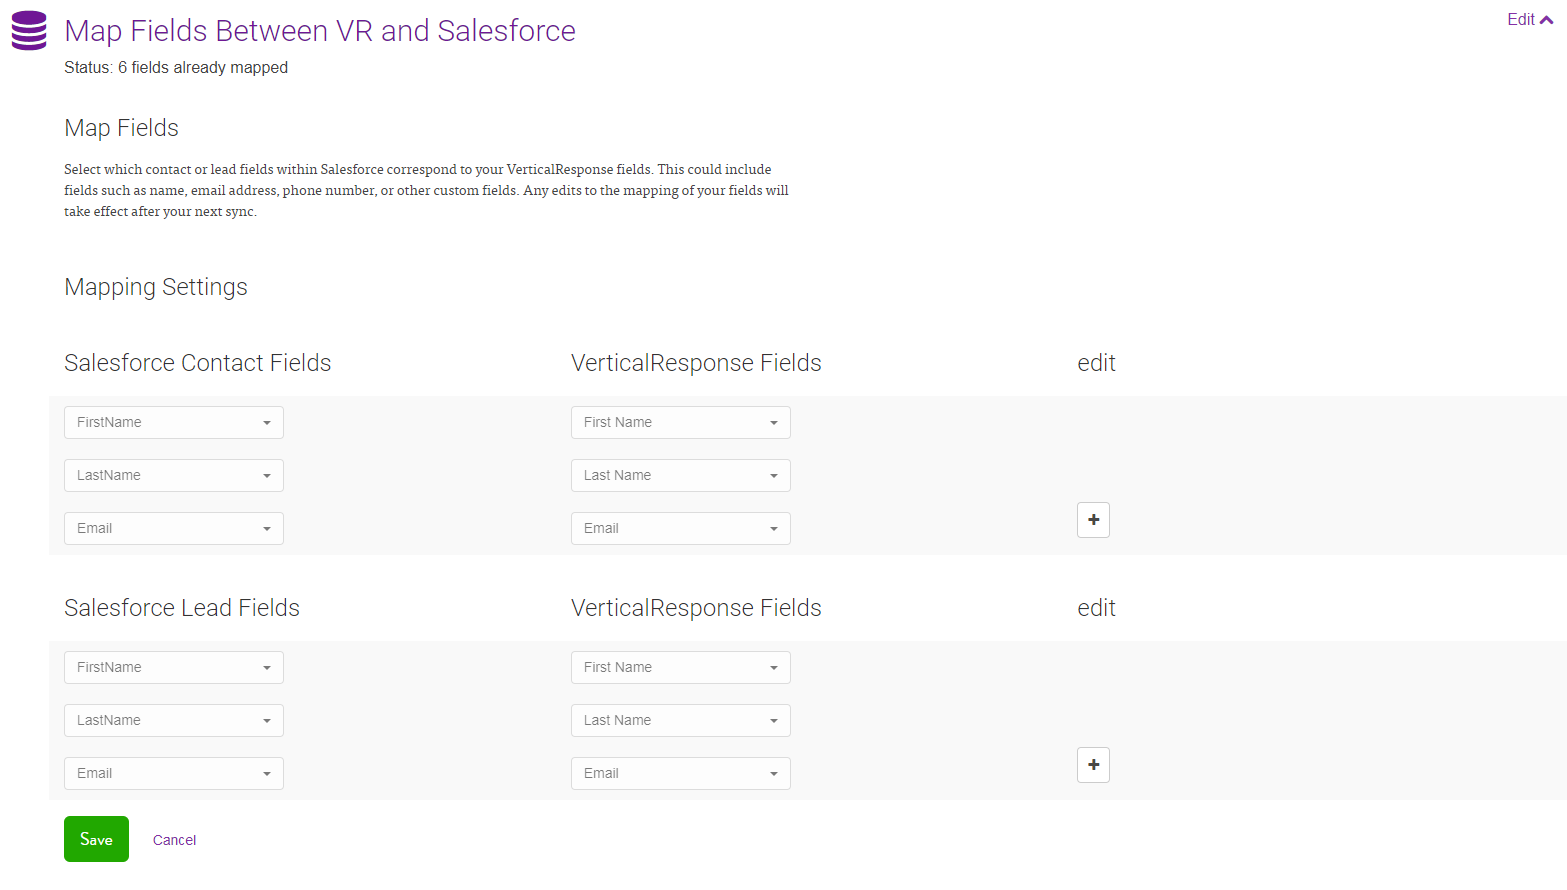
7. Press Save, when you are done.
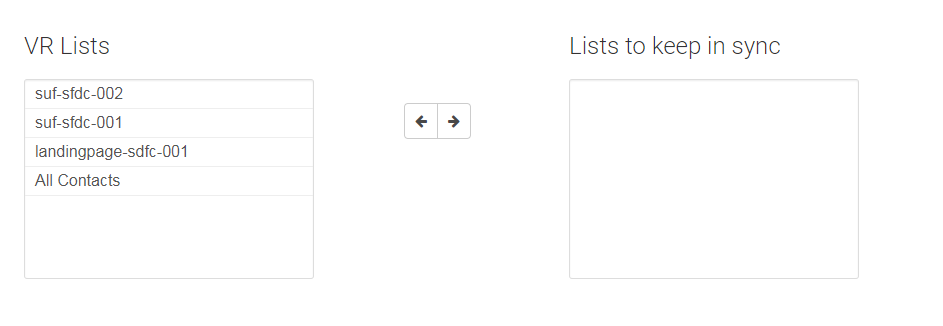
8. Next you need to choose which VR list you would like to sync with Salesforce.
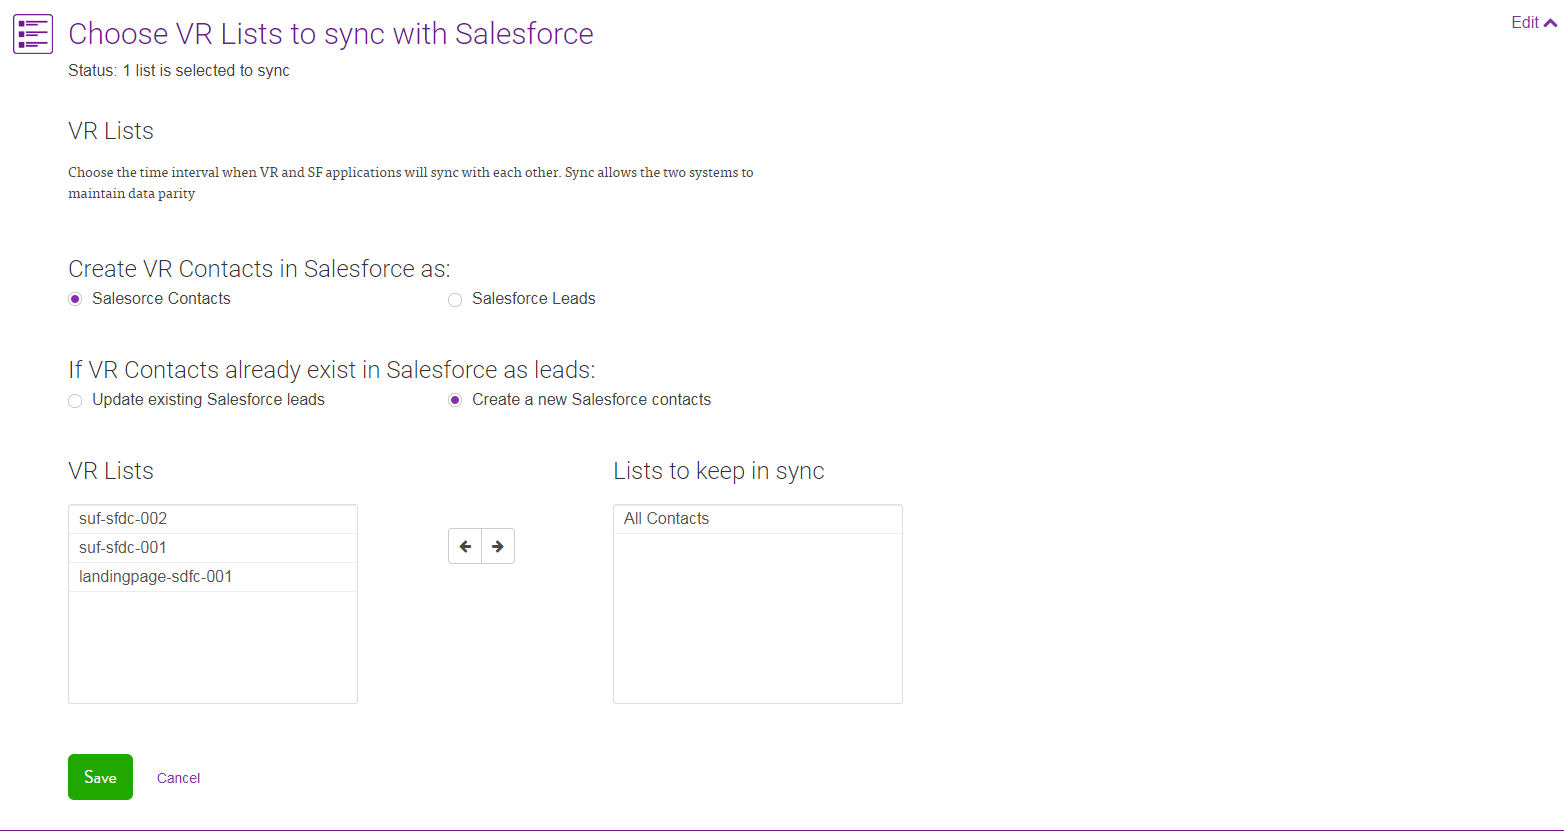
9. To choose a list select the list name from the VR box and click the arrow to move it over. Click Save when you are finished.
10. Anytime a new contact is added to the VR list that you've chosen, it will be automatically added to Salesforce during the next sync. You need to choose whether you want it to sync to your contacts or leads.
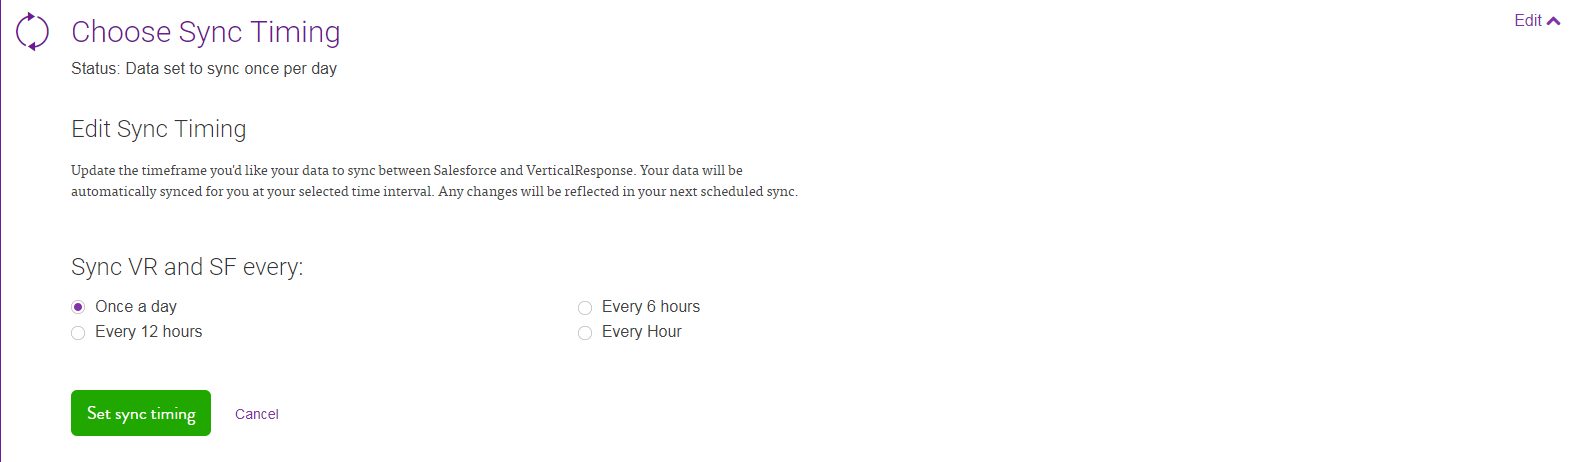
11. The last thing you will need to set up is the sync timing. You can choose how often you want the lists to sync. Choose from once a day, every 6 hours, every 12 hours or every hour. Click Set sync timing when you are ready.
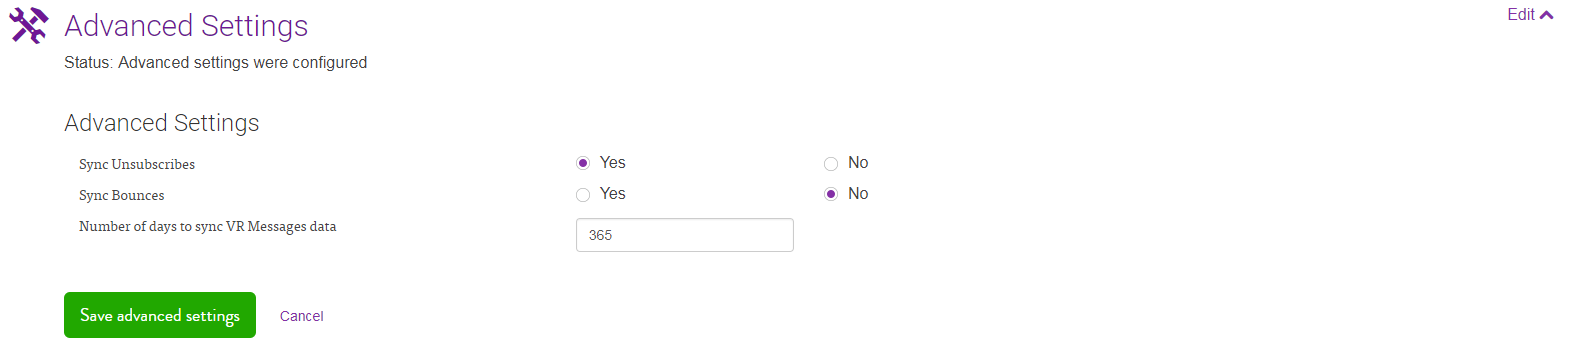
12. You’ll also be able to sync unsubscribes and bounces if you want. You will find this in the advanced settings section.
Comments
Please sign in to leave a comment.